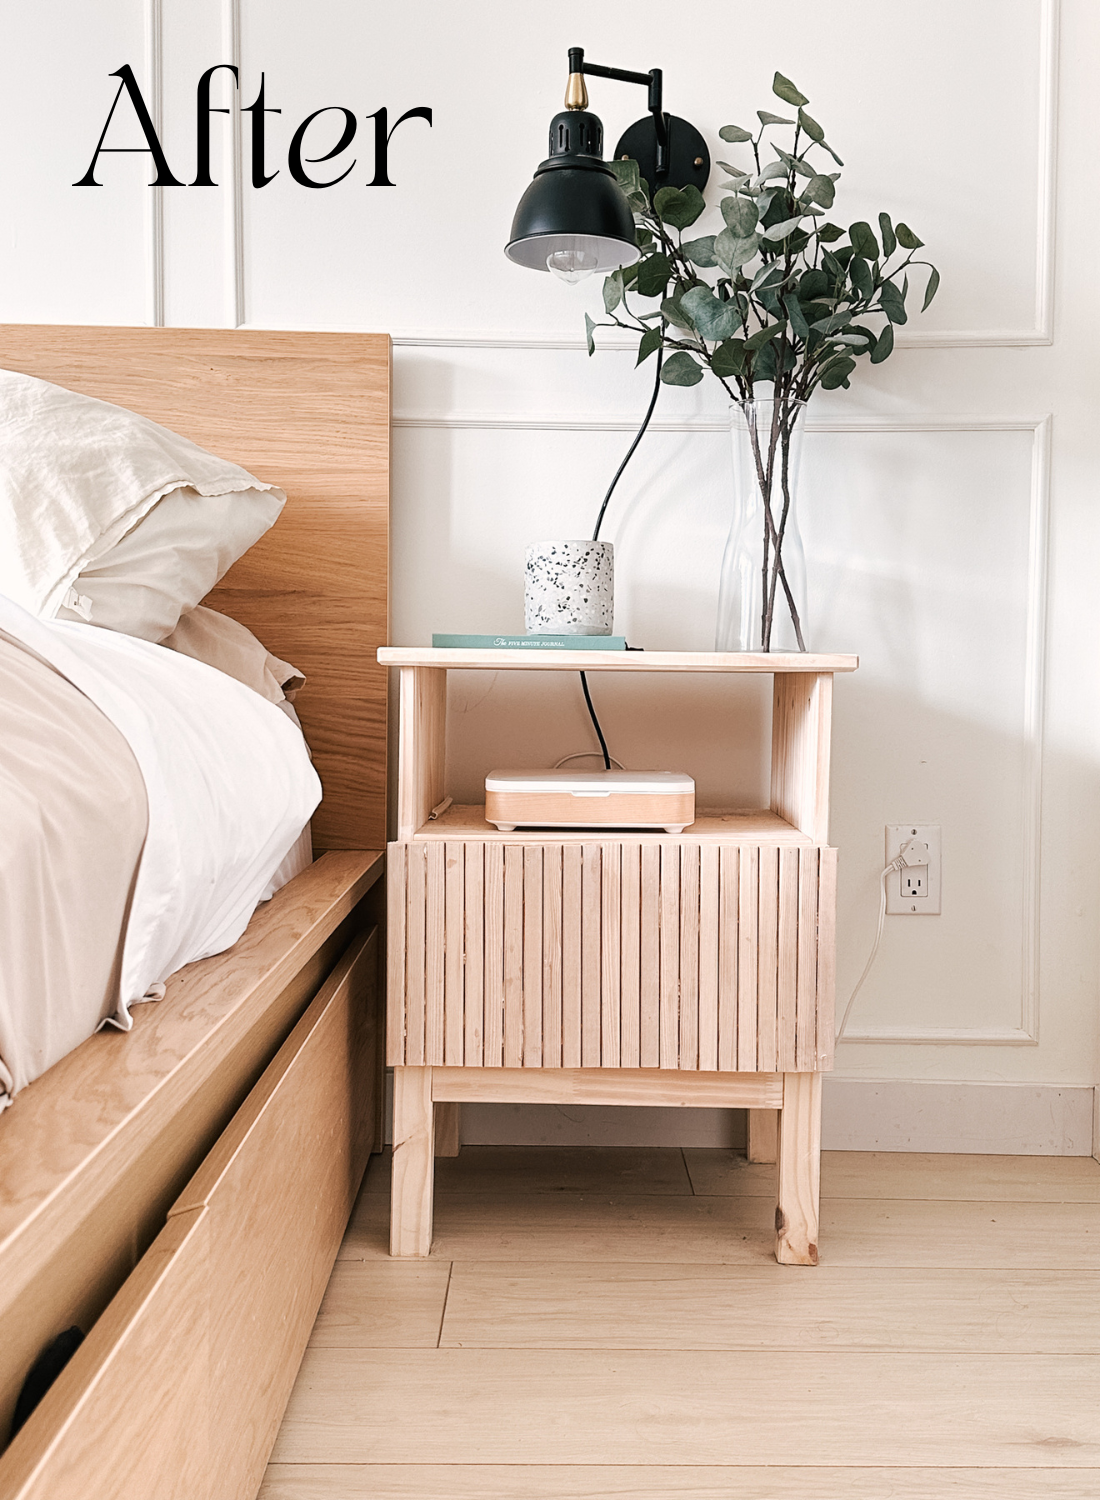
DIY IKEA Tarva Nightstand Makeover: How to Create a Stunning Fluted Slate Look

When it comes to home decor, even the smallest changes can make a significant impact. If you're looking to add a touch of elegance and uniqueness to your bedroom, we've got just the DIY project for you. In this comprehensive guide, we'll walk you through every step of the process to transform your basic IKEA Tarva nightstand into a stunning piece of furniture that will elevate your entire bedroom's aesthetic. The best part? You don't need to be a woodworking expert to accomplish this project. Armed with some basic tools and creativity, you can achieve a high-end look without the high-end price tag.

Tools and Materials You'll Need:
Before we dive into the step-by-step instructions, let's make sure you have all the tools and materials required for this project:
Fine-Tooth Saw
Electric Sander (or a Hand Saw if you're patient)
Gorilla Glue
Measuring Tape
Pen
STANLEY 12-INCH PLASTIC MITRE BOX
Old Cloth or T-Shirt for Staining
Minimum of 4 Clamps
23 strips of 23cm wood trim per nightstand (x 2 for two nightstands)
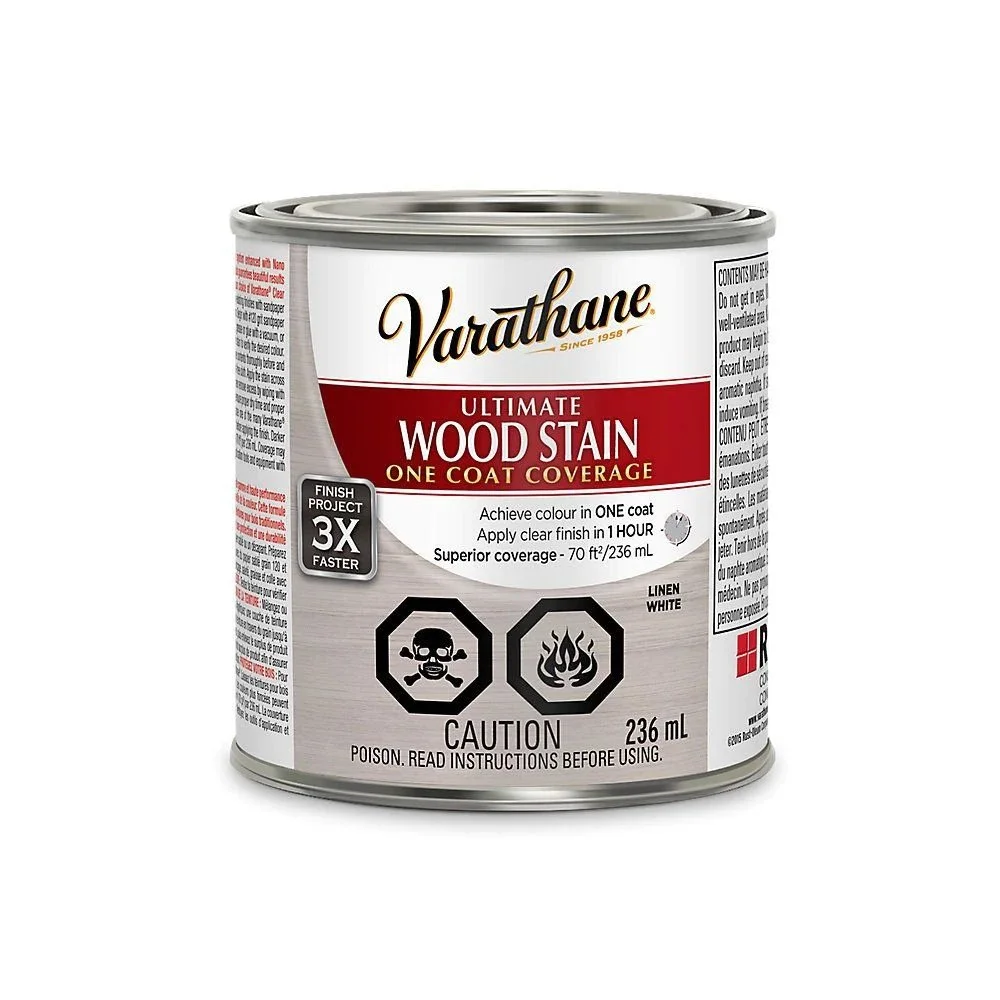
1 x White Stain: 236 mL Varathane Ultimate Oil-Based Interior Wood Stain
Calculating the Total Wood Trim Needed:
To ensure you have enough wood trim, here's a quick calculation:
23 strips per nightstand x 2 nightstands = 46 strips
46 strips x 23cm each = 1058cm total needed
1058cm = 37.4ft / 8-foot strips = approximately 4.34 strips of 8-foot wood trim
Now that we have our materials ready, let's get started with the transformation!
Step 1: Gather Your IKEA Tarva Nightstands
Begin by ensuring you have two IKEA Tarva nightstands ready to undergo this fantastic makeover.
Step 2: Cut the Wood Trim
Using your fine-tooth saw, carefully cut the 1/4" x 3/4" x 8' wood trim into 23cm strips. These strips will be the key to achieving the fluted slate look you desire.
Step 3: Apply Gorilla Glue and Attach the Trim
Here comes the fun part! Apply Gorilla Glue to the back of each wood trim strip and start attaching them to the front surface of your Tarva nightstands. It's best to work in sections, adding a few strips at a time. Once in place, use your clamps to hold the strips firmly while the glue dries. Be mindful not to use excessive glue, as it can seep through the cracks. If you see any excess glue, wipe it away with a wet cloth. Allow the glued strips to dry overnight.
Step 4: Sand the Edges
After the glue has fully dried, grab your electric sander (or sandpaper if you're going old-school) and carefully sand down the edges of the wood trim. This step ensures that everything is smooth and even, giving your nightstands a polished look.
Step 5: Apply the Stain
To enhance the natural beauty of the wood grain and achieve the desired slate look, use an old t-shirt or cloth to apply the wood stain. One coat should suffice, as it allows the grain to remain visible while giving your nightstands a rich, rustic appearance.
Step 6: Add Optional Handles
The final step is entirely up to your personal preference. If you feel that your newly transformed nightstands could benefit from handles, go ahead and add them. However, the clean and minimalistic design of the Tarva nightstand makes it perfectly functional without handles, so you can leave them off for a sleek, modern look.
Enhancing Your Bedroom Decor:
With your DIY IKEA Tarva nightstand makeover complete, it's time to see how this elegant addition enhances your bedroom decor. The fluted slate look adds depth and texture to your space, making it a focal point in your room. Its versatility allows it to seamlessly blend with various design styles, from modern to rustic, ensuring it complements your existing bedroom furnishings.
Additional Bedroom Items:
To complete the overall look and feel of your revamped bedroom, consider coordinating your nightstands with other items in the room. Here's a quick rundown of some of the items mentioned at the beginning of this post:
Ikea Malm Bed Oak: The natural oak tones of the Malm bed can harmonize beautifully with the wood grain of your nightstands.
Tarva Dresser Ikea: If you have the Tarva dresser in your bedroom, your newly upgraded nightstands will be a perfect match.
Wall Lights and Curtains: Black wall lights and various curtains in beige and grey can complement the sleek, modern look of your nightstands while adding depth and dimension to your space.
Textiles and Bedding: Coordinating with your duvet cover, body pillows, and bed sheets in neutral tones can create a cohesive and calming bedroom atmosphere.
Desk and Chair: If your bedroom serves as a workspace, a beige desk chair from Ikea and a well-organized desk can blend seamlessly with your nightstands.
Laptop Holder and Diffuser: If you have a laptop holder and a diffuser in your room, consider their placement to ensure they complement your overall bedroom decor scheme.
Sunrise Light Alarm Clock: The natural wood tones of your nightstands can harmonize with the warm light of a sunrise alarm clock, enhancing the overall ambiance of your bedroom.


Total Material Cost
2 x Tarva Nightstands: $69.99 each
White Stain: $17.92 (236 mL Varathane Ultimate Oil-Based Interior Wood Stain)
5 x 8' pieces Hemlock Wood Screen Moulding: $6.89 each
Total Cost: $192.35 CAD
Please note that the costs mentioned here are based on the prices in CAD and may vary depending on your location and specific product choices. This breakdown covers the material expenses for your DIY IKEA Tarva nightstand makeover project.


Congratulations on completing your DIY IKEA Tarva nightstand makeover! You've successfully transformed basic nightstands into elegant, eye-catching pieces that elevate your bedroom decor. By following these simple steps and coordinating with other elements in your room, you've created a harmonious and stylish space without breaking the bank.
With just a few tools, a touch of creativity, and a bit of patience, you've added a unique and personalized touch to your bedroom. Enjoy your newly upgraded nightstands and the enhanced ambiance they bring to your space! As you continue to explore DIY projects, remember that small changes can make a big difference in the world of home decor.
Now, it's time to sit back, relax, and savor the fruits of your labor as you bask in the refined beauty of your transformed bedroom.